Emergency Procedures
Educational guide to know how to respond to common emergencies in Niseko and other mountain environments — including injuries, tree‑well incidents, getting lost, low‑visibility situations and gate‑area accidents.
In winter mountains, knowing what to do in the first minutes of an emergency can make all the difference. Remember mountains knows nothing about you and owes you nothing. Stay in control and only expose yourself to the danger you can actually afford.
Avalanche Rescue — Critical First Minutes
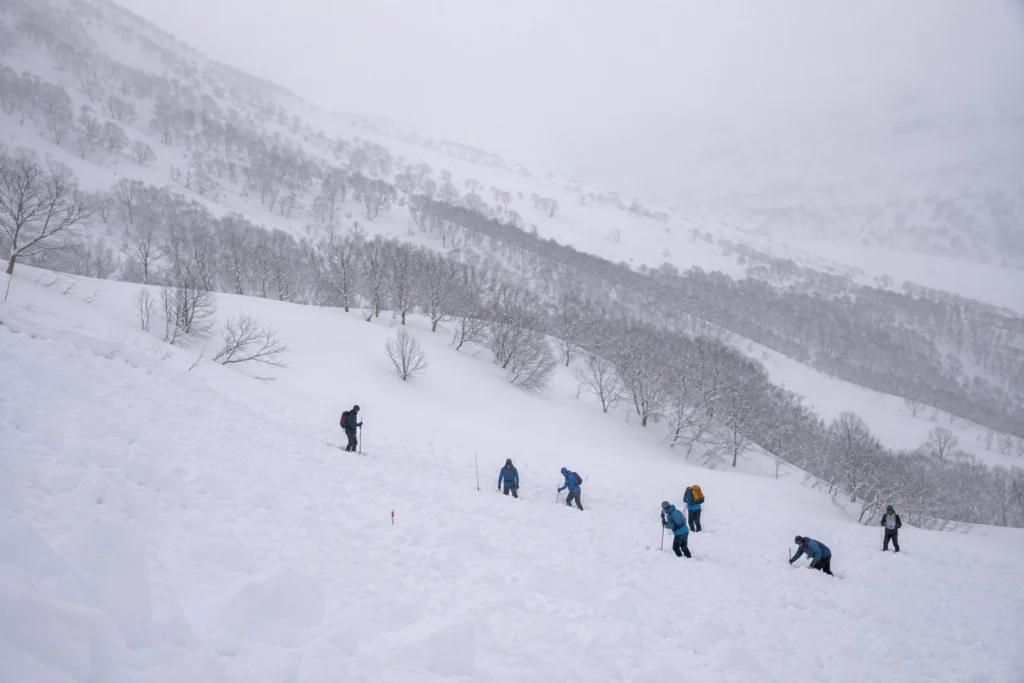
If someone is buried in an avalanche, the first 5 –10 minutes are crucial. Survival rates drop rapidly after that. This is a simplified guide for immediate action.
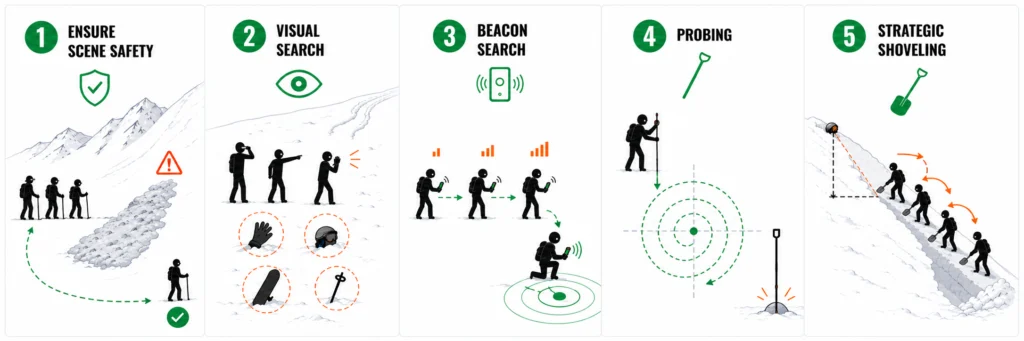
1. Ensure Scene Safety
- Stop and assess: is the slope still unstable?
- Move to a safe edge if necessary before starting rescue.
2. Visual Search
- Look for clues: gear, gloves, board/skis, tracks entering but not exiting.
- Shout for reactions if there is any chance the person is partially buried.
3. Beacon Search
- All rescuers switch beacons to search mode.
- One person leads the search; others stay spread out but close enough to help.
- Follow the signal until you reach the strongest reading (fine search).
4. Probing
- Probe systematically in a grid pattern if unsure (perpendicular with the surface).
- When the probe hits something soft/solid, leave it in place — this marks your digging point.
5. Strategic Shoveling
- Start digging downslope from the probe, not directly on top.
- Create a ramp to reach the buried person gently.
- If multiple rescuers: form a “V” pattern and rotate to avoid exhaustion.
One Rescuer
Move quickly, focus on beacon → probe → dig. Call patrol only after confirming location unless you have signal.
VS
Multiple Rescuers
One person leads beacon search, others prepare probe and shovel. Rotate during digging.
common situations
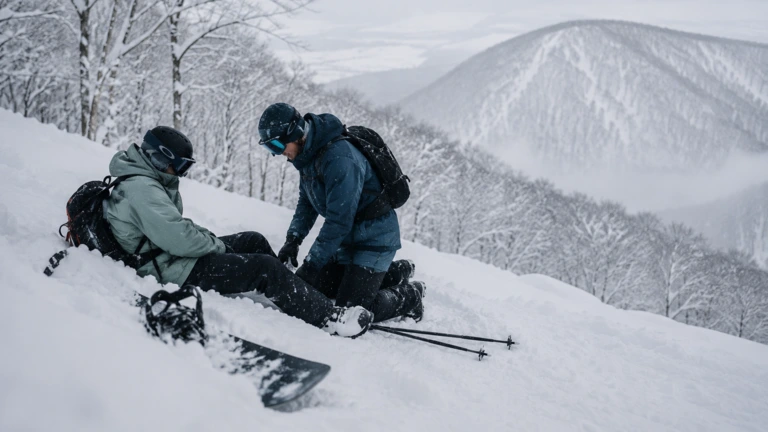
Someone Is Injured
- Stop in a safe, visible location away from steep drop-offs.
- Mark the area so others slow down.
- Call ski patrol immediately and describe the injury clearly.
- Give precise location: nearest lift, piste number, nearby signs or landmarks.
- Keep the person warm and still until help arrives.
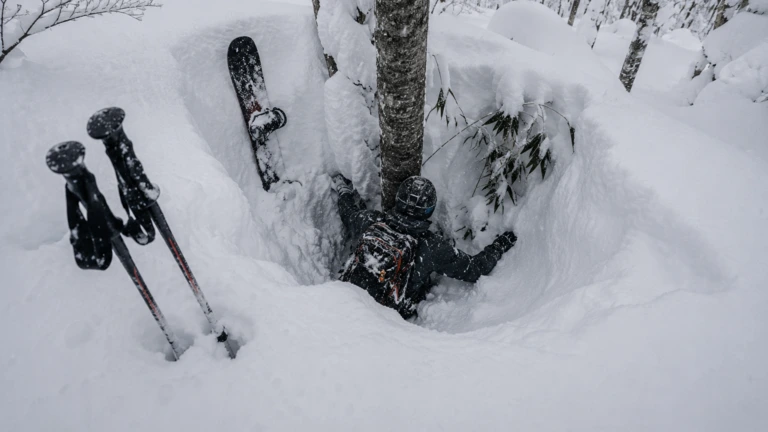
Falling Into a Tree Well
- Approach carefully from above to avoid collapsing more snow onto them.
- Do not pull on limbs — you may worsen their position.
- Clear snow around their face first to open airway.
- Communicate constantly if they’re conscious.
- Call ski patrol immediately — tree wells are time‑critical situations.
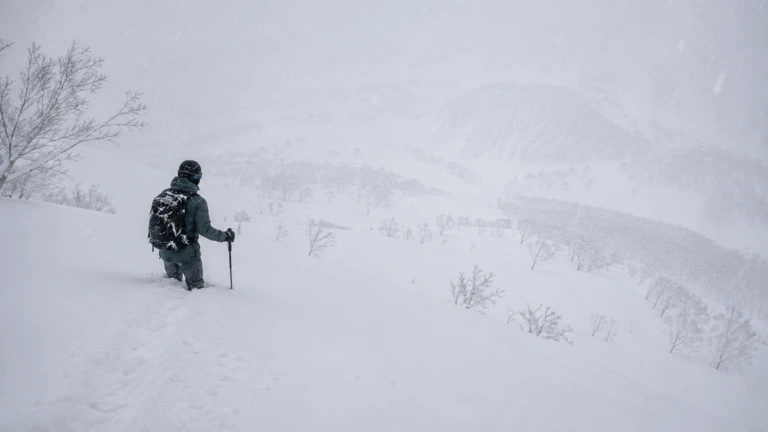
Get Lost or Separated
- Stop moving — don’t descend blindly in low visibility.
- Move to a visible area if possible.
- Call ski patrol and give your last known location.
- Share battery-saving tips: low-power mode, screen dimming.
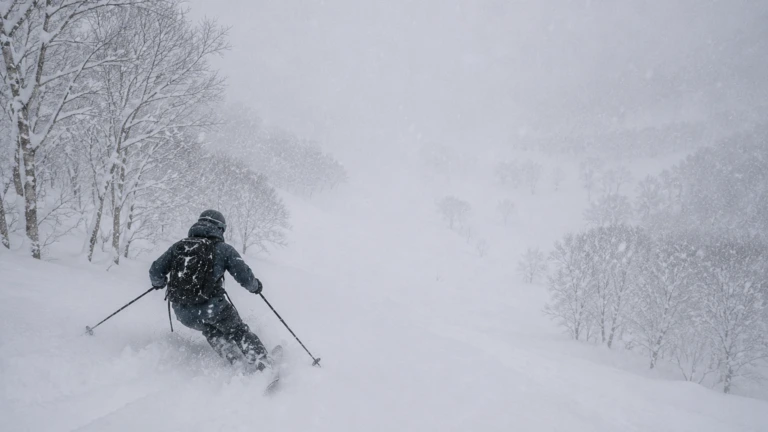
Low Visibility or Whiteout Conditions
- Slow down and follow piste markers — never rely on tracks.
- Avoid tree areas if visibility is near zero.
- Use low‑light or clear lenses for better contrast.
Communication & Preparation

Share meeting points with your group at the start of the day.

Carry a charged phone — cold reduces battery life.

Radios are extremely useful in Niseko’s forests and storms.

Know the emergency number for the resort you’re in.
Gate‑Area Emergencies
- Ask for help
- Follow patroller instructions immediately — they manage avalanche terrain risk.
- Do not attempt to self‑rescue in hazardous or unstable terrain.
- Move to safe zones when told — avoid stopping in gullies or near steep slopes.
- Ensure your group stays together and accounted for.
Communication & Preparation
Share meeting points with your group at the start of the day.
Carry a charged phone — cold reduces battery life.
Radios are extremely useful in Niseko’s forests and storms.
Know the emergency number for the resort you’re in.
Gate‑Area Emergencies
- Ask for help
- Follow patroller instructions immediately — they manage avalanche terrain risk.
- Do not attempt to self‑rescue in hazardous or unstable terrain.
- Move to safe zones when told — avoid stopping in gullies or near steep slopes.
- Ensure your group stays together and accounted for.
This page provides general guidance only. Real-world emergencies demand calm judgment and, whenever possible, assistance from trained professionals and ski patrol. Regardless of how cautious you are, accidents can still happen — that’s why it’s always wise to carry private mountain/rescue insurance that covers medical expenses and rescue costs. It’s not about taking more risks; it’s about being prepared if help is needed.
niseko
gates
Independent information for safety backcountry decisions and better days in Niseko.
backcountry gates
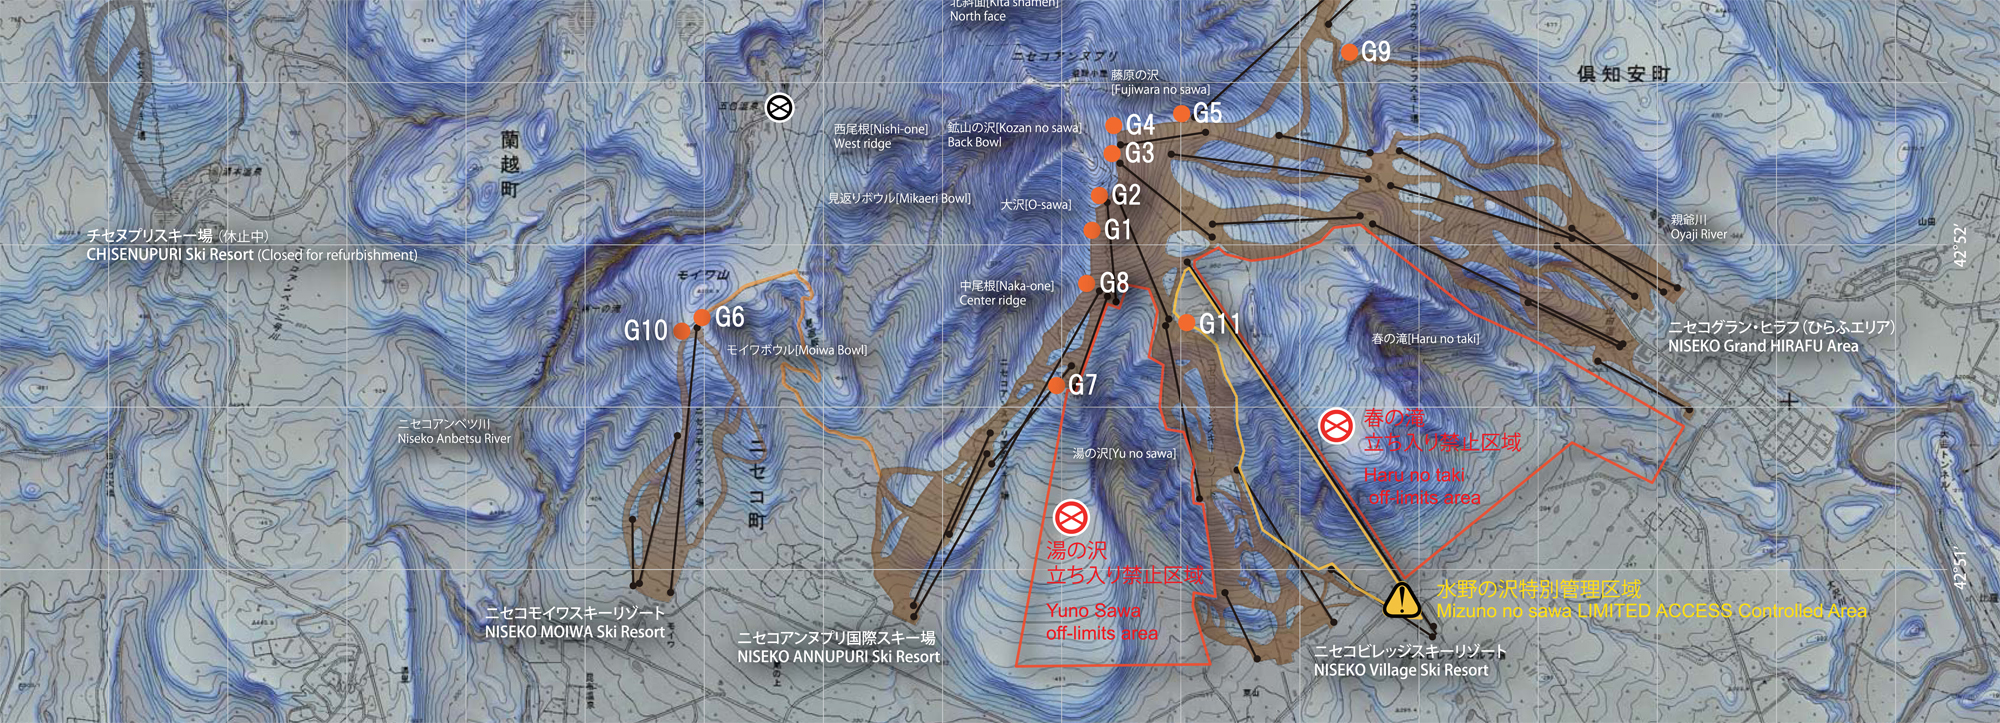
Gate 1 – L-GI
Gate 2 – Annupuri Peak
Gate 3 – Hirafu Peak
Gate 4 – Hanazono Ridge
Gate 5 – Hanazono Gate
Gate 6 – Moiwa Peak
Gate 7 – E-Sawa
Gate 8 – Hachi-Ban
Gate 9 – Waterfall
Gate 10 – Moiwa Sidecountry
Gate 11 – Mizuno no Sawa
INSTRUCTION & BOOKING
Private Lessons
Group Lessons
Freeride Foundation
Gate Guiding
Booking Process
legal

need help planning your backcountry trip?
© 2026 NISEKO GATES
Ride smart. Respect the mountains. Share the stoke responsibly. · Lessons in partnership with Limitless Hokkaido.